Building My Desk — Part Two: The Top
👋 Hello reader, this blog post has aged 10 years since I originally wrote it in 2013. That's about 70 “internet years” you know, so it's probably quite stale by now and may not reflect my current thinking. I am happy to keep it here for archival purposes, but please reach out to me if something feels off or if you're relying on it for any serious purpose.
Thanks,
Patrick
The conclusion to my desk building saga ended with a trip to Ikea, and the sanding, staining, and finishing of the tabletop.
I would have never even considered Ikea as the place to go when searching for the top of my desk, had it not been for Jessica’s blog post. The Ikea Numerär counter top in oak is actually the perfect size for this project and looks great after you stain and finish it.
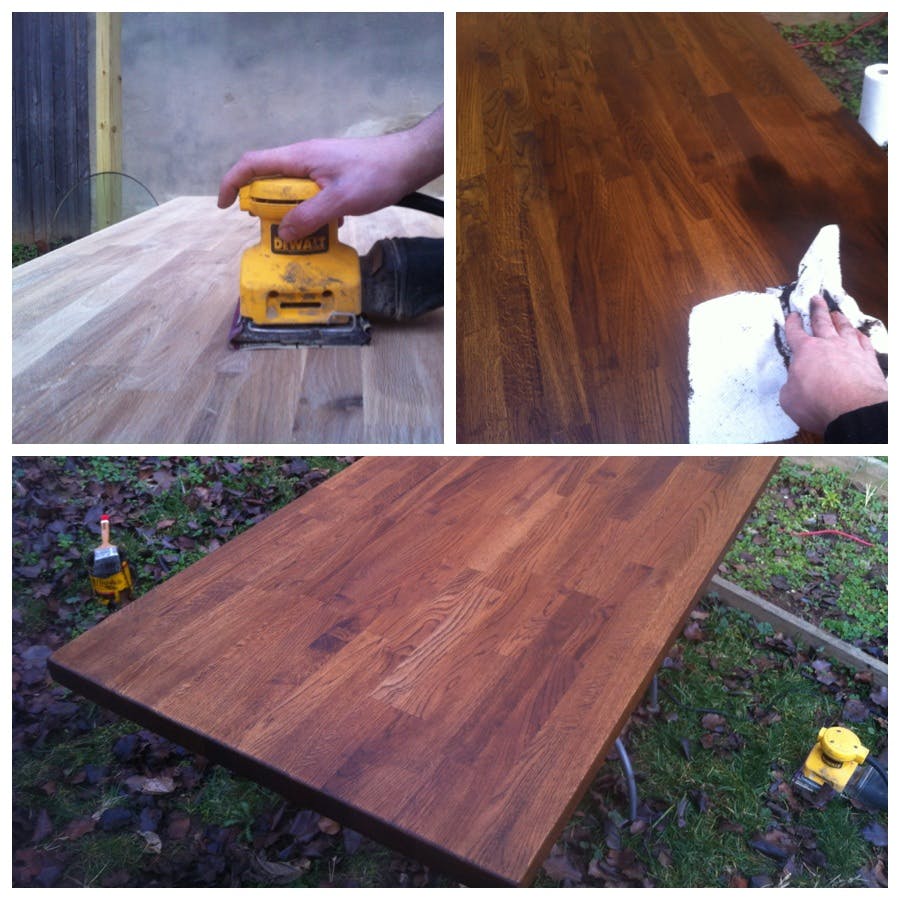
This counter comes in a few sizes and I built my frame to hold the 73 1/4” x 25 5/8” size top. After getting it home (it’s way heavier than it looks), I sanded it with a hand sander and some medium grit paper. I then used a tack cloth to get all the dust up before staining.
I had some walnut stain left over from when I finished the hardwood floors in my house, so I evenly applied it to the countertop with a clean rag and let it absorb into the wood for about five minutes. After wiping off the excess, I let the stain dry overnight before finishing it with polyurethane.
I applied one coat of poly, let it dry for about 4 hours. Lightly sanded it, wiped it down with another tack cloth, and applied another coat. Due to the impending thunderstorm, I had to act rather quickly and didn’t have time to apply a third or fourth coat—which I would highly recommend doing.
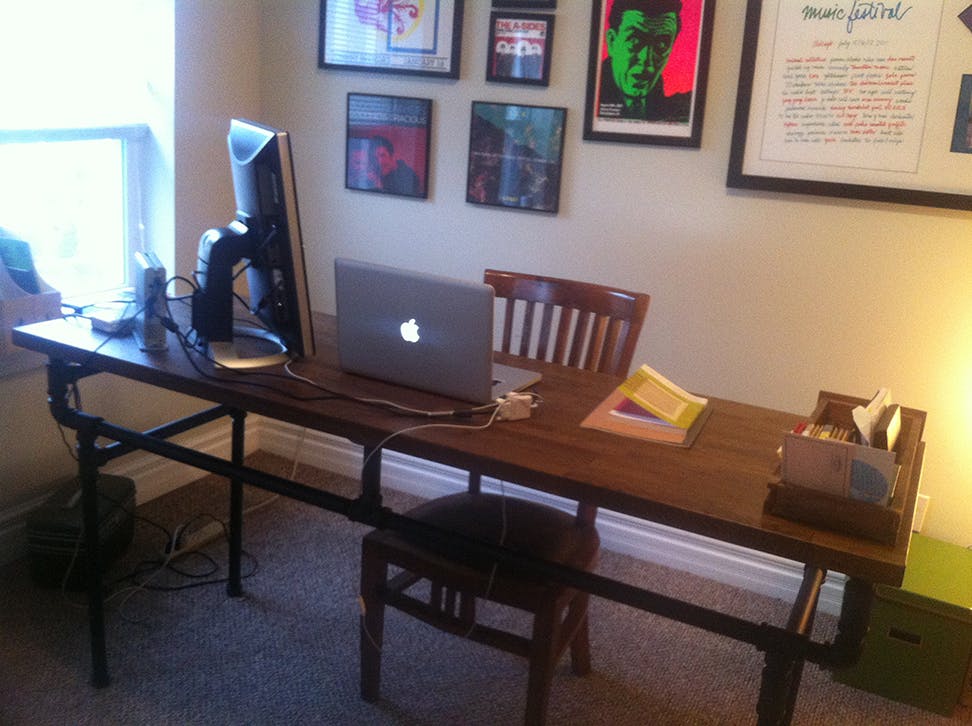
I got the finished countertop onto the frame I built, centered it, marked off where the screws would be going with a pencil and drilled the pilot holes. The oak top is very hard wood and it would be extremely difficult to screw into it without drilling pilot holes first. The screws went in a bit harder than I expected—mostly due to awkward angles. Finally, I eagerly setup my desk for its first test run that evening.
A success.
I’ve been using it now for about a month and it is by far the best desk I’ve ever owned. I added a keyboard tray too keep the desktop clutter free, and its perfect for my setup.